
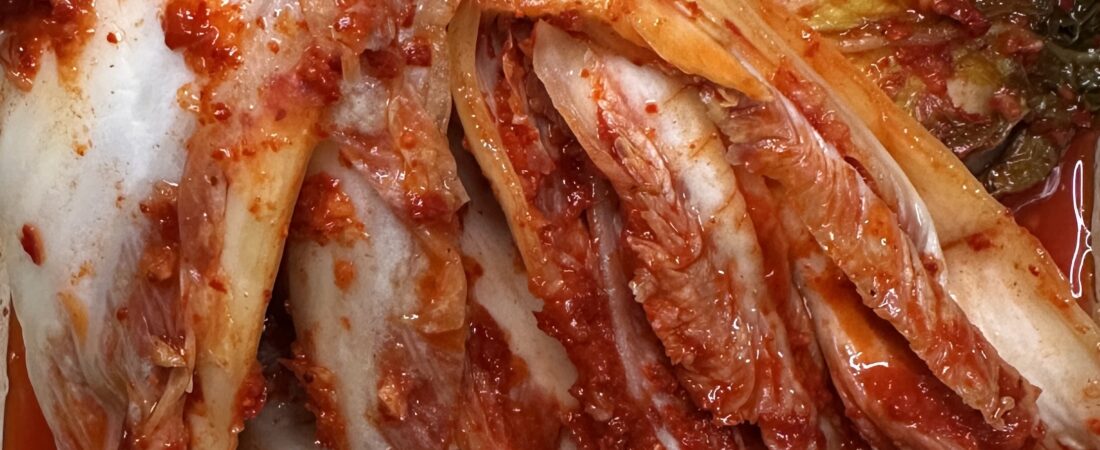
If you’ve been shopping at H-Mart lately, you’ve probably noticed something: there are often more non-Korean shoppers than Korean shoppers. The banchan (side dish) section is always busy, and kimchi is one of the most popular items.
I love kimchi, but after trying several store-bought versions from Costco and Sam’s Club, I noticed many were already very fermented by the time I opened them. Delicious, but not the flavor I grew up with.
My family loves kimchi right when it starts to ferment—the perfect balance of fresh, crunchy, spicy, and slightly tangy.
And honestly? Fresh kimchi with warm pork bossam is one of life’s greatest pleasures.
So today I’m sharing my family’s simple kimchi recipe. No complicated stuffing. No giant pile of vegetables to mix. Everything is blended into a smooth sauce, making it easy even for beginners.
Ingredients (For 2 Napa Cabbages)
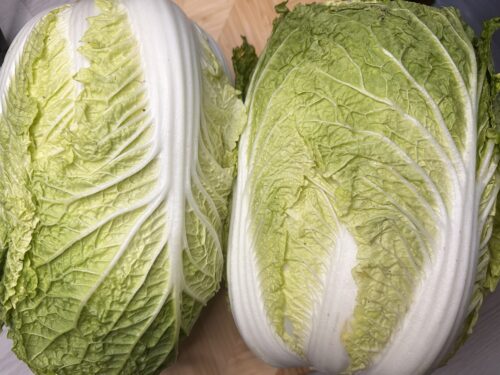
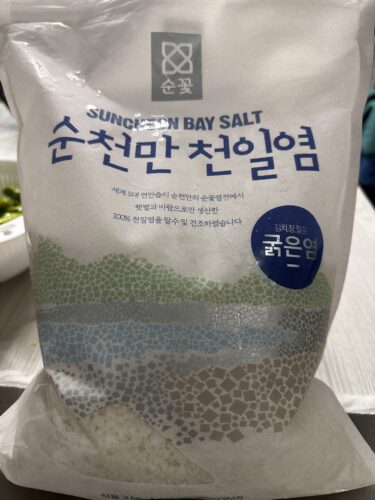
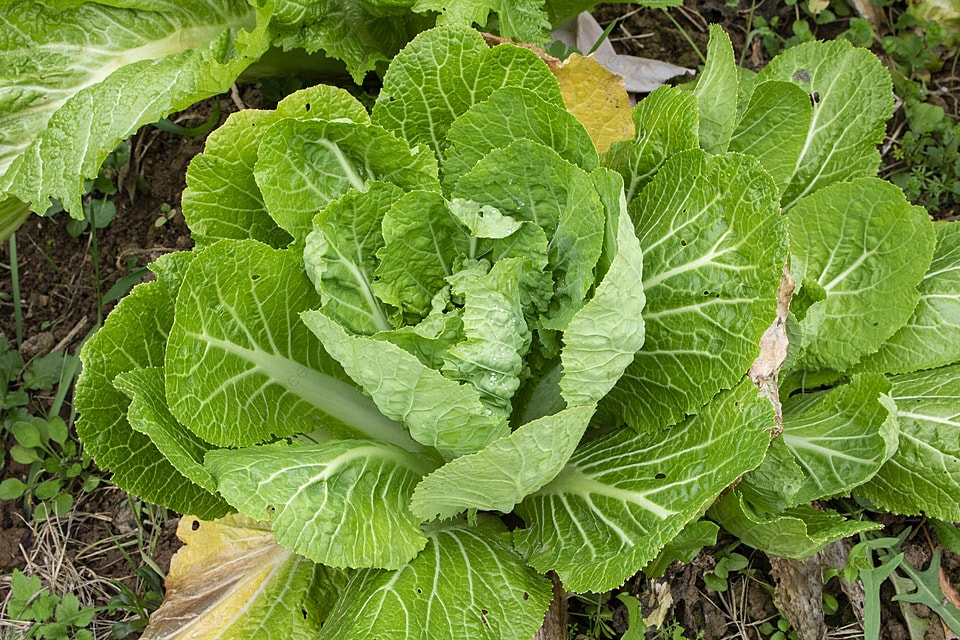
2 large Napa cabbages
2 cup coarse sea salt (Korean sea salt preferred)
Water for soaking: 6gal +1cup coarse sea salt
Blended Kimchi Sauce
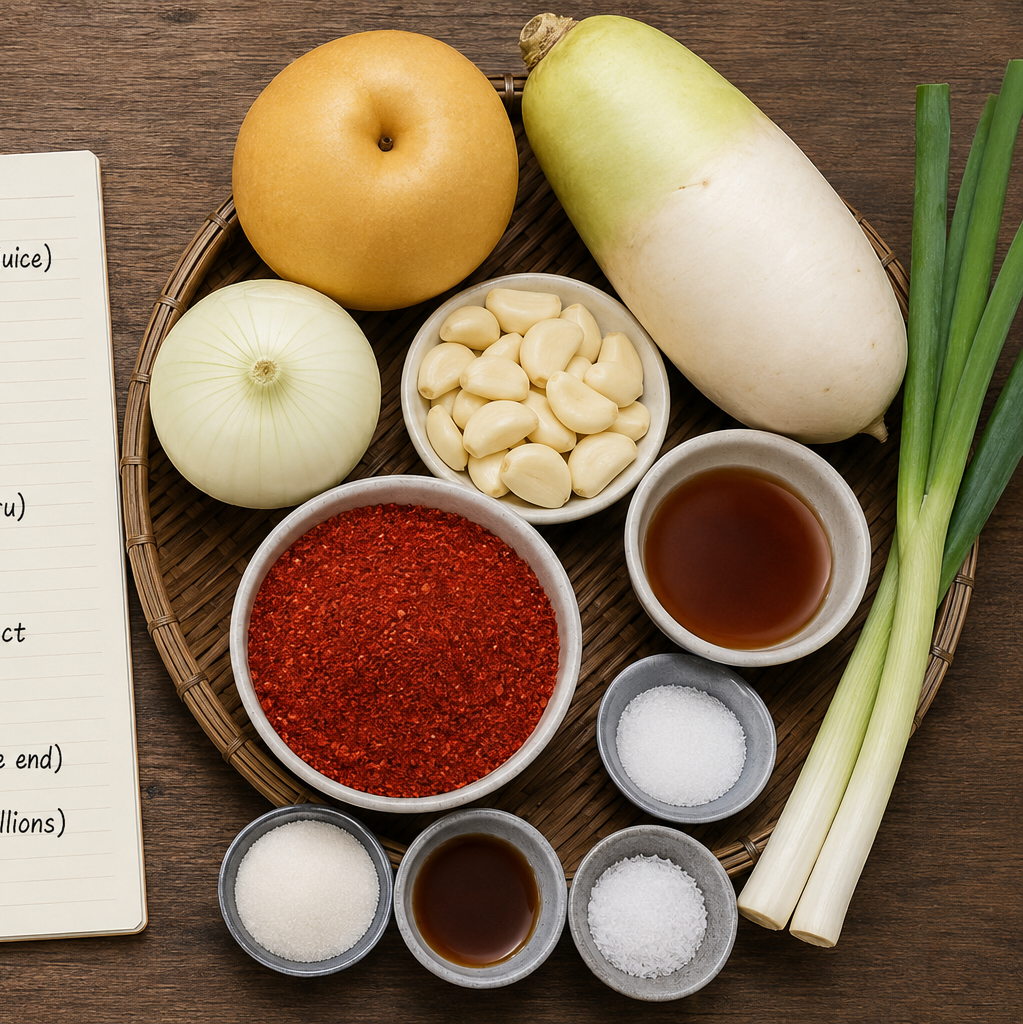
* 1 Korean pear (or 1 can of pear juice) * 1 medium-sized Korean radish
* 1 medium-sized onion * 20–25 cloves of garlic
* 2½ cups red chili powder (gochugaru) * ¾ cup fish sauce
* 2 tbsp sugar + 2 tbsp plum extract * 1 tsp MSG (Miwon)
* 1 tbsp salt (adjust seasoning at the end) *2 stalks of large green onion (scallions)
Many traditional kimchi recipes start with homemade stock made from anchovies and kelp.
I take a shortcut.
And honestly? It works beautifully.
The Secret to Great Kimchi: Sweet Rice Paste
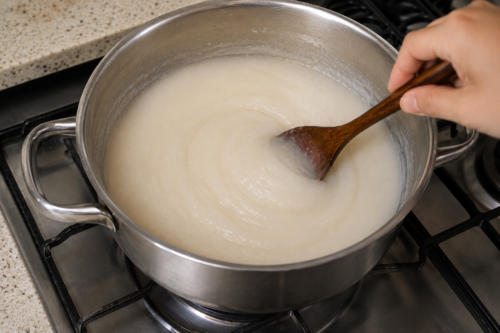
*3 tablespoons sweet rice flour *400ml water
*1 tablespoon Dashida (Korean beef stock powder)
- First, combine all the ingredients in cold water and mix well.
(This prevents the flour from clumping.) - Place the mixture over medium heat and stir continuously.
- Once it begins to thicken, reduce the heat to low, simmer for another minute, and then turn off the heat.
Why this step is important:
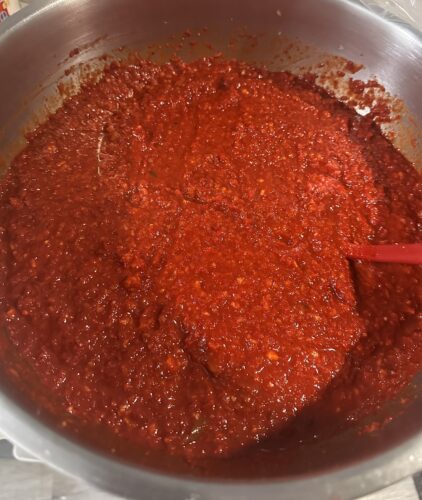
Add the red chili powder while the paste is still warm.
As the chili powder absorbs the moisture, it develops a deeper red color and a richer flavor.
Let the glutinous rice paste cool slightly, then blend it in a mixer with the other prepared seasoning ingredients.
This creates a smooth, creamy kimchi seasoning that spreads evenly over every single cabbage leaf.
A Quick Tip
Use coarse Korean red pepper flakes made for kimchi.
Don’t use fine chili powder.
Fine powder can make the mixture thick and pasty—more like gochujang than kimchi seasoning.
Step 1: Prepare the Cabbage
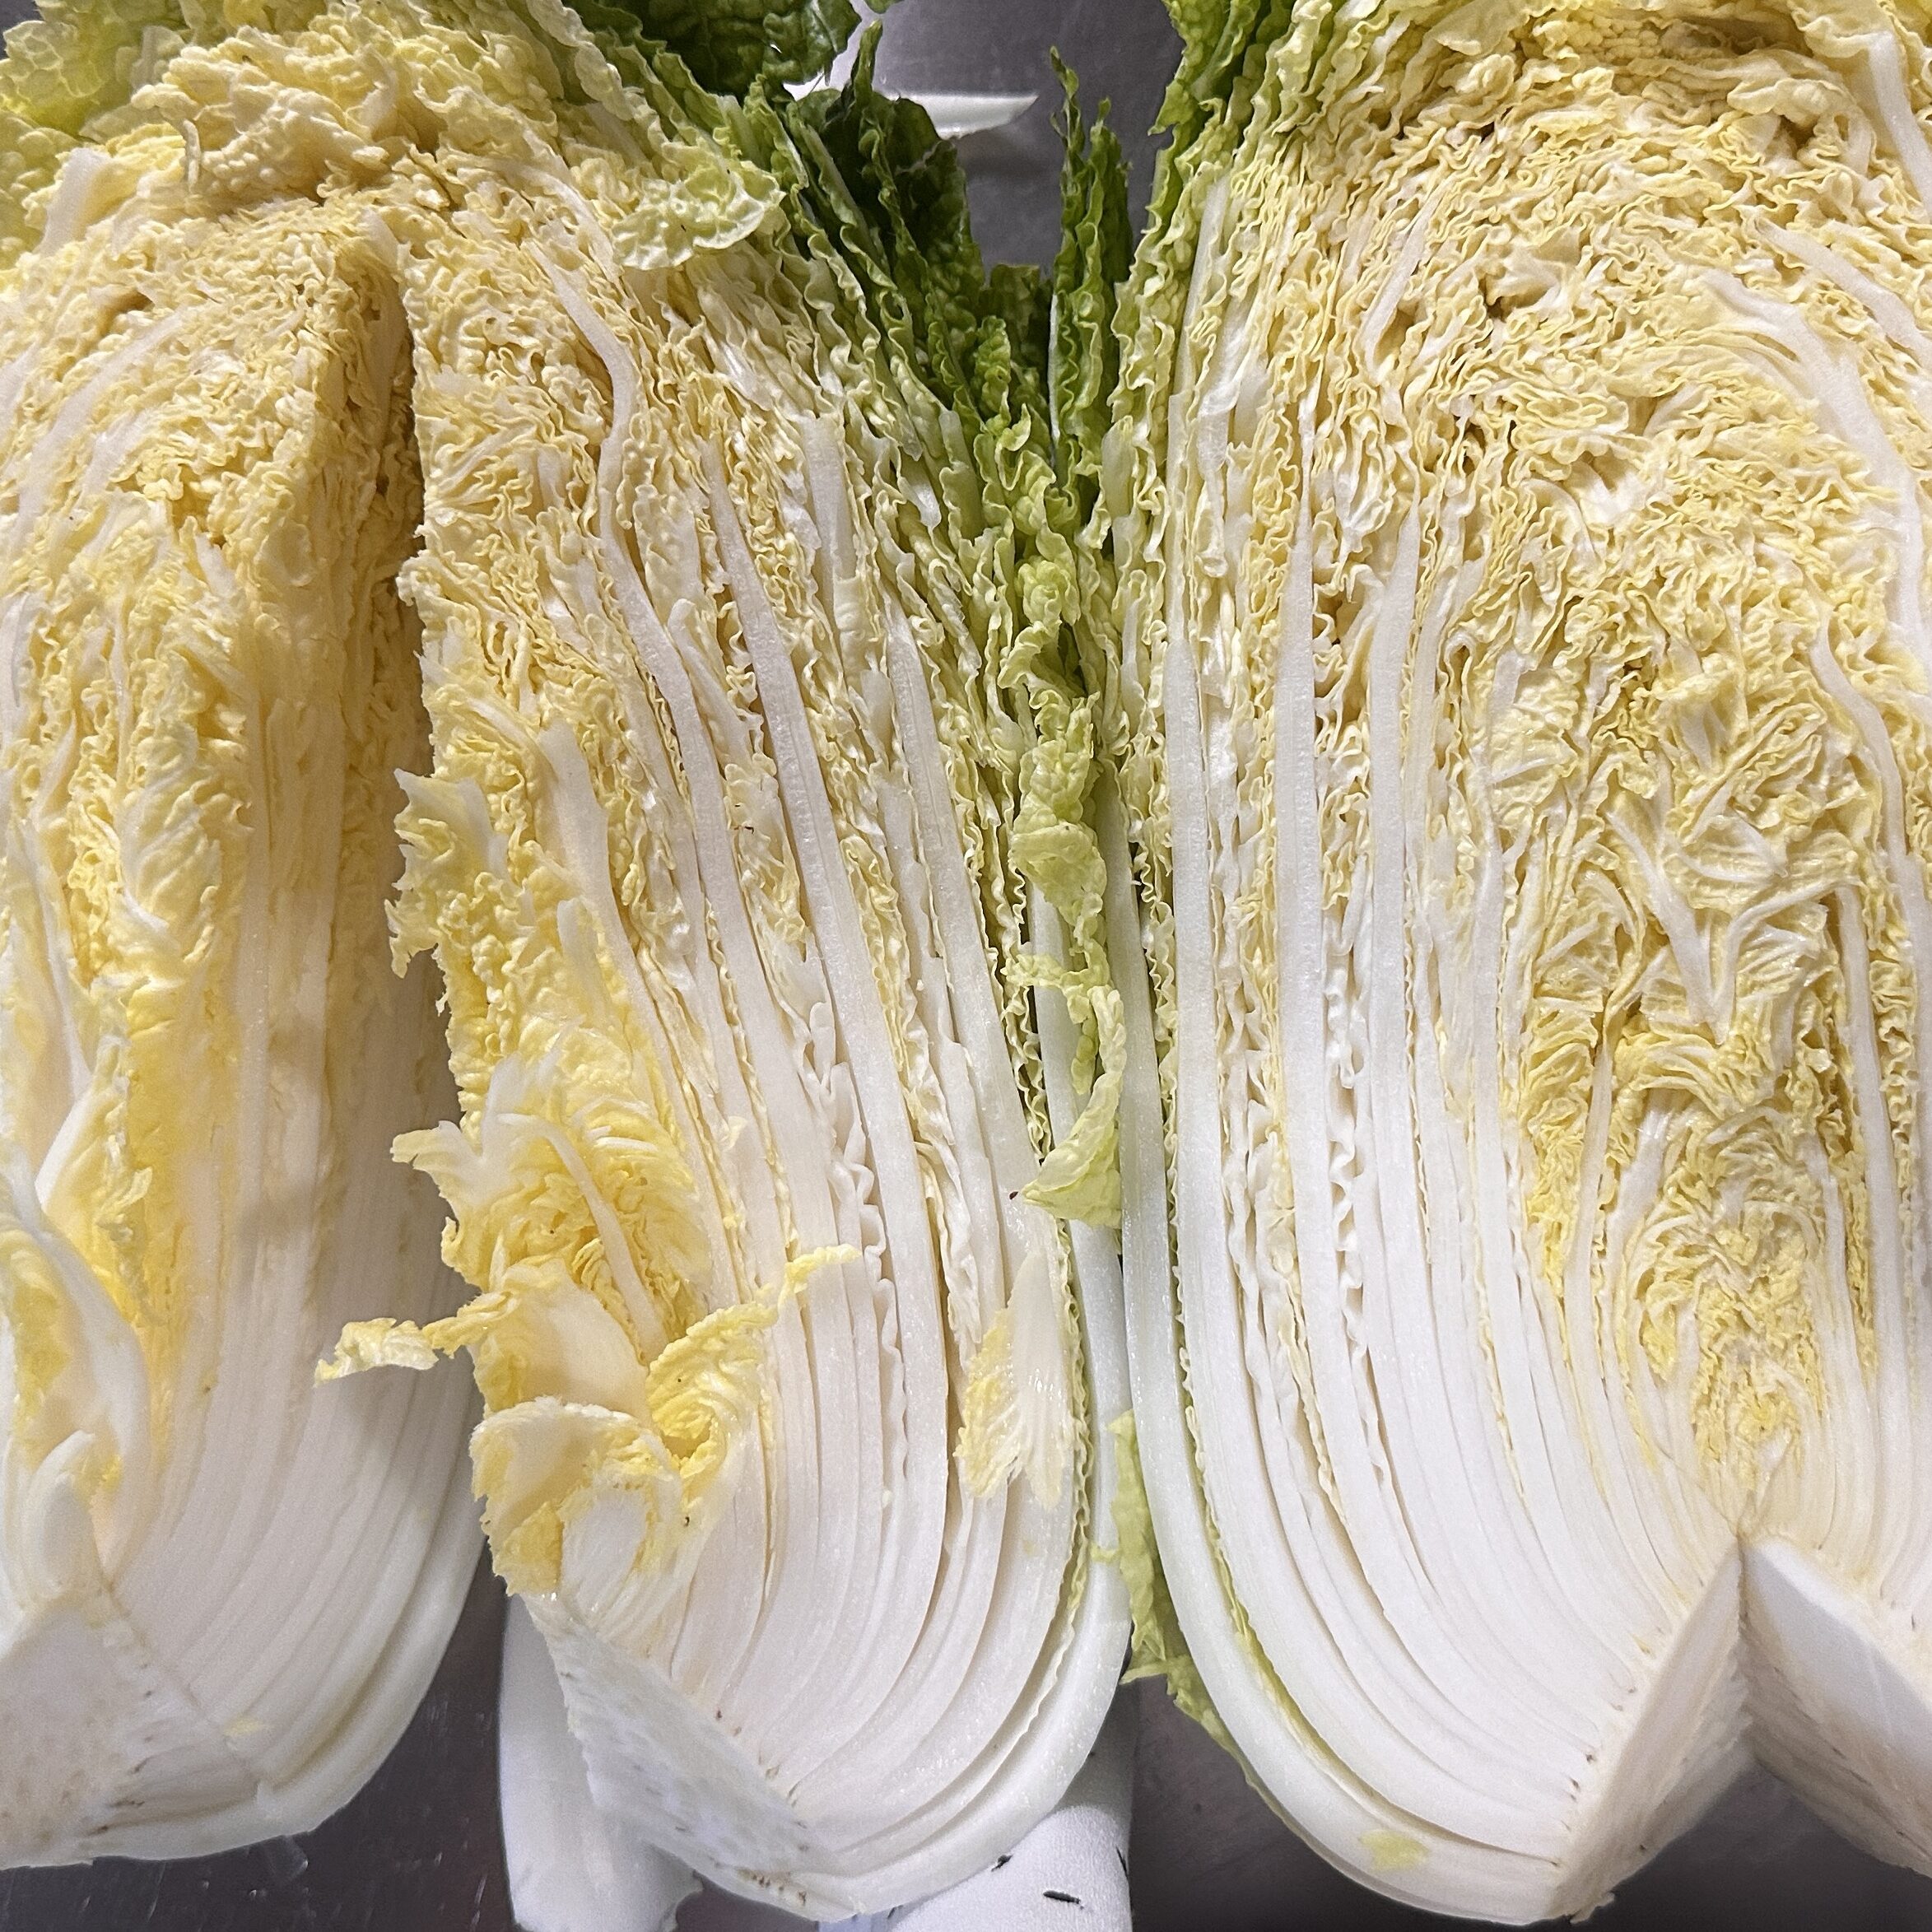
Instead of chopping the napa cabbage into small pieces, cut the whole head lengthwise into quarters.
Step 2: Salt the Cabbage
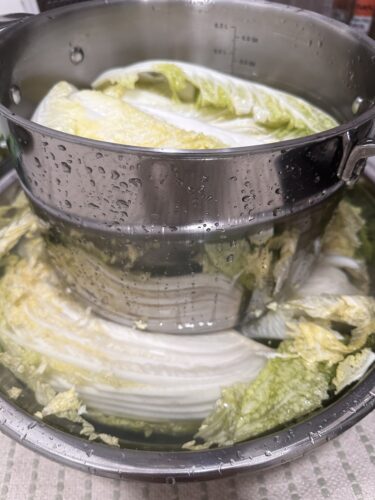
First, soak the napa cabbage in salt water
Sprinkle salt between the layers of the thick white stems, ensuring the salt reaches deep into the folds.
Let it cure for 4 hours, turning it over once or twice during the process.
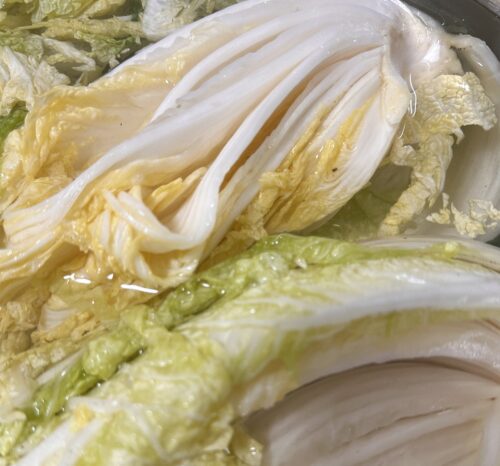
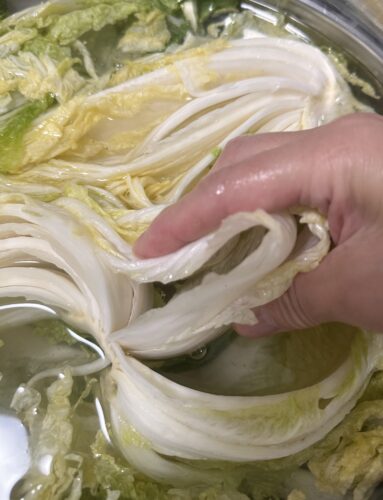
It is fully cured when it reaches the following state:
✅ The leaves bend easily.
✅ The white stems are flexible and bend without snapping.
✅ The cabbage has softened but has not become mushy.
Step 3: Rinse and Drain
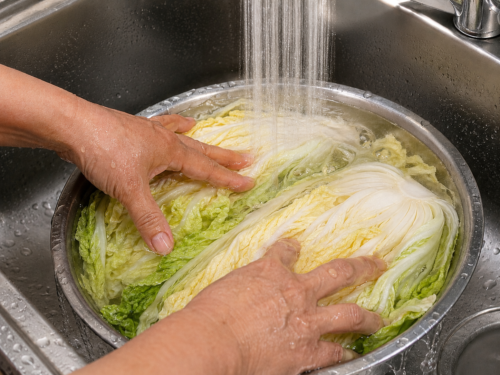
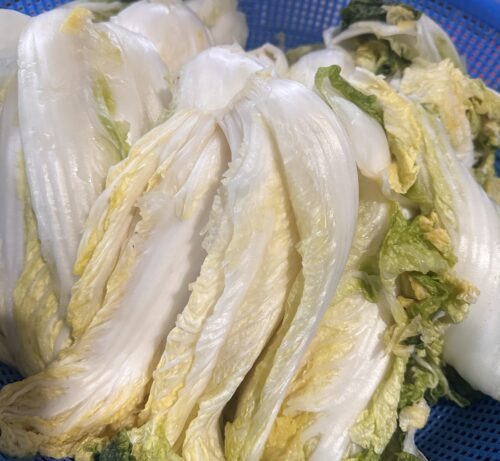
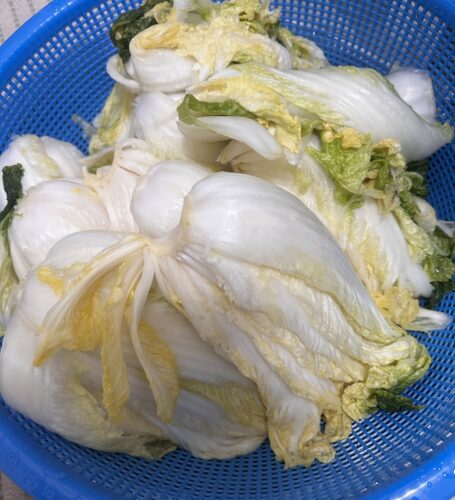
Rinse the napa cabbage in clean water two or three times.
(If the cabbage tastes too salty, soaking it in clean water for about 5 minutes will help reduce the saltiness.)
Drain the water completely.
I usually place it in a colander and let it drain for at least an hour.
The less moisture there is, the better the kimchi will taste.
Step 4: Make the Easy Blender Sauce
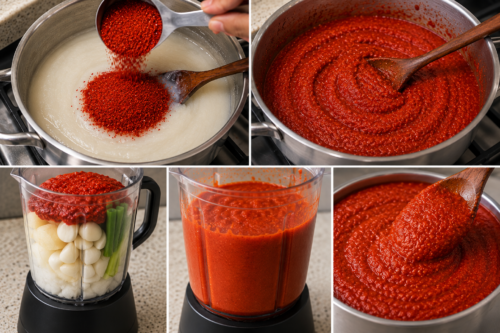
I don’t make a traditional vegetable stuffing mixture.
Instead, I blend everything into a smooth sauce.
Step 5: Coat Every Layer
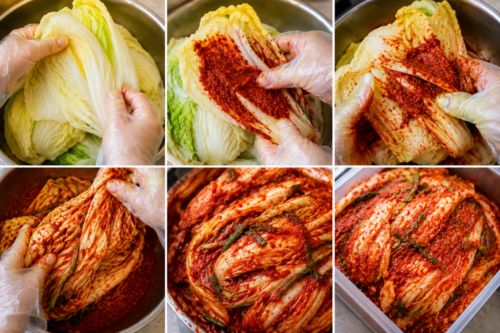
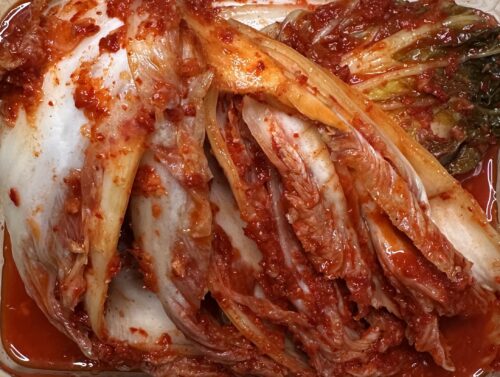
Open each cabbage section gently.
Spread the sauce between the leaves.
Don’t worry about making it perfect.
Just make sure every layer gets a little sauce.
Because I don’t use a stuffing mixture, I make extra sauce and spread it generously.
The result is cleaner, easier, and my family actually prefers it.
Step 6: Pack Tightly
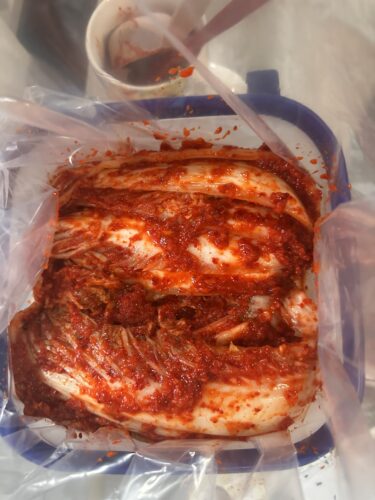
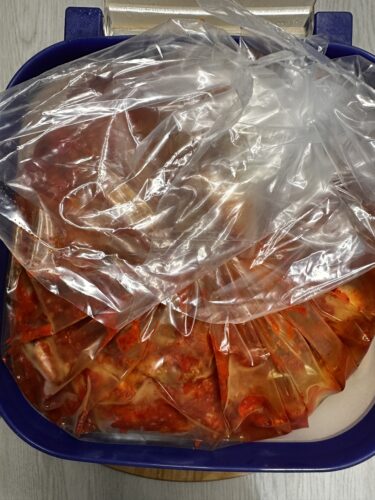
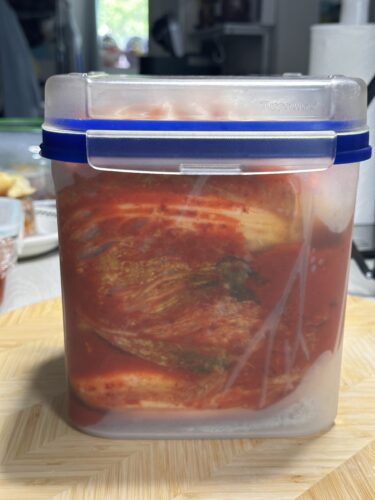
After packing the kimchi into a container, press it down firmly to remove as much air as possible.
I place the kimchi in a food-grade plastic bag, squeeze out the air, and then tie the bag shut.
Kimchi ferments best in a low-oxygen environment. Less trapped air helps the beneficial lactic acid bacteria do their job, creating a cleaner flavor and a more even fermentation.
Less air = better fermentation.
What About the Gas?
As kimchi ferments, it naturally produces carbon dioxide.
That’s a good sign—it means the fermentation is working!
To prevent spills, don’t fill the container all the way to the top. Leave about 10–20% empty space for the kimchi to expand.
I also place the container on a tray during the first couple of days, just in case a little kimchi juice escapes.
Bubbles are normal. Overflowing is normal. That’s simply the sign of happy kimchi. 😊
Our Family’s Kimchi Fermentation Method
- For whole-cabbage kimchi (pogi-kimchi), leave it at room temperature for about 2–3 days before refrigerating.
- Chopped kimchi (mak-kimchi) ferments more quickly; leave it at room temperature for about 2 days before refrigerating.
- Why Kimchi Should Be Refrigerated Early
- It is best not to leave kimchi at room temperature for too long because it develops a deeper, cleaner flavor when it ferments slowly in the refrigerator.
- Leaving it at room temperature for about two to three days simply helps kickstart the fermentation process.
- Although it takes a bit longer, kimchi that matures in the refrigerator tastes better.
Wrapping Up
Making kimchi might seem difficult and complicated, but it actually involves just three simple steps.
Salt the cabbage, prepare the seasoning paste, and mix everything together—that’s it!
Then, all you have to do is wait.
It’s really that simple, isn’t it?
Once you try making it yourself, you’ll understand why so many Koreans always keep their fridges stocked with kimchi.
Plus, once you taste perfectly ripened kimchi—with its crisp texture, spicy kick, pleasant tang, and rich umami flavor—you won’t even want to look at store-bought kimchi again. 🌶️🥬❤️
Leave a Reply