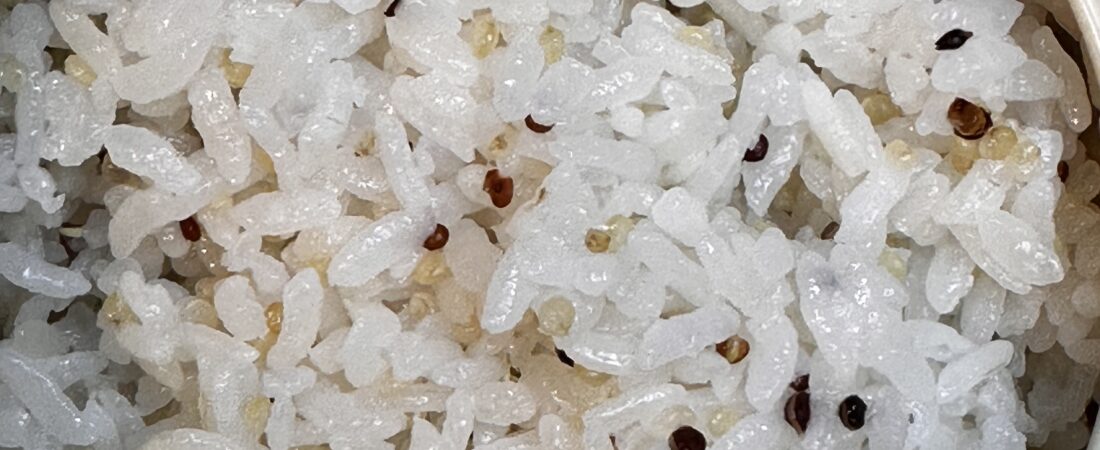
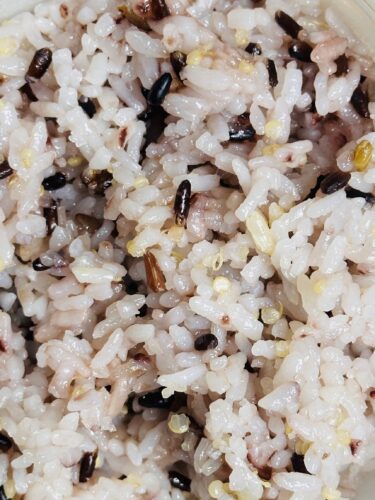
Japgokbap (Korean Mixed Grain Rice)
Create a delicious Korean table with a bowl of nutritious mixed grain rice. Simple, healthy, and perfect with any side dishes. 🍚✨
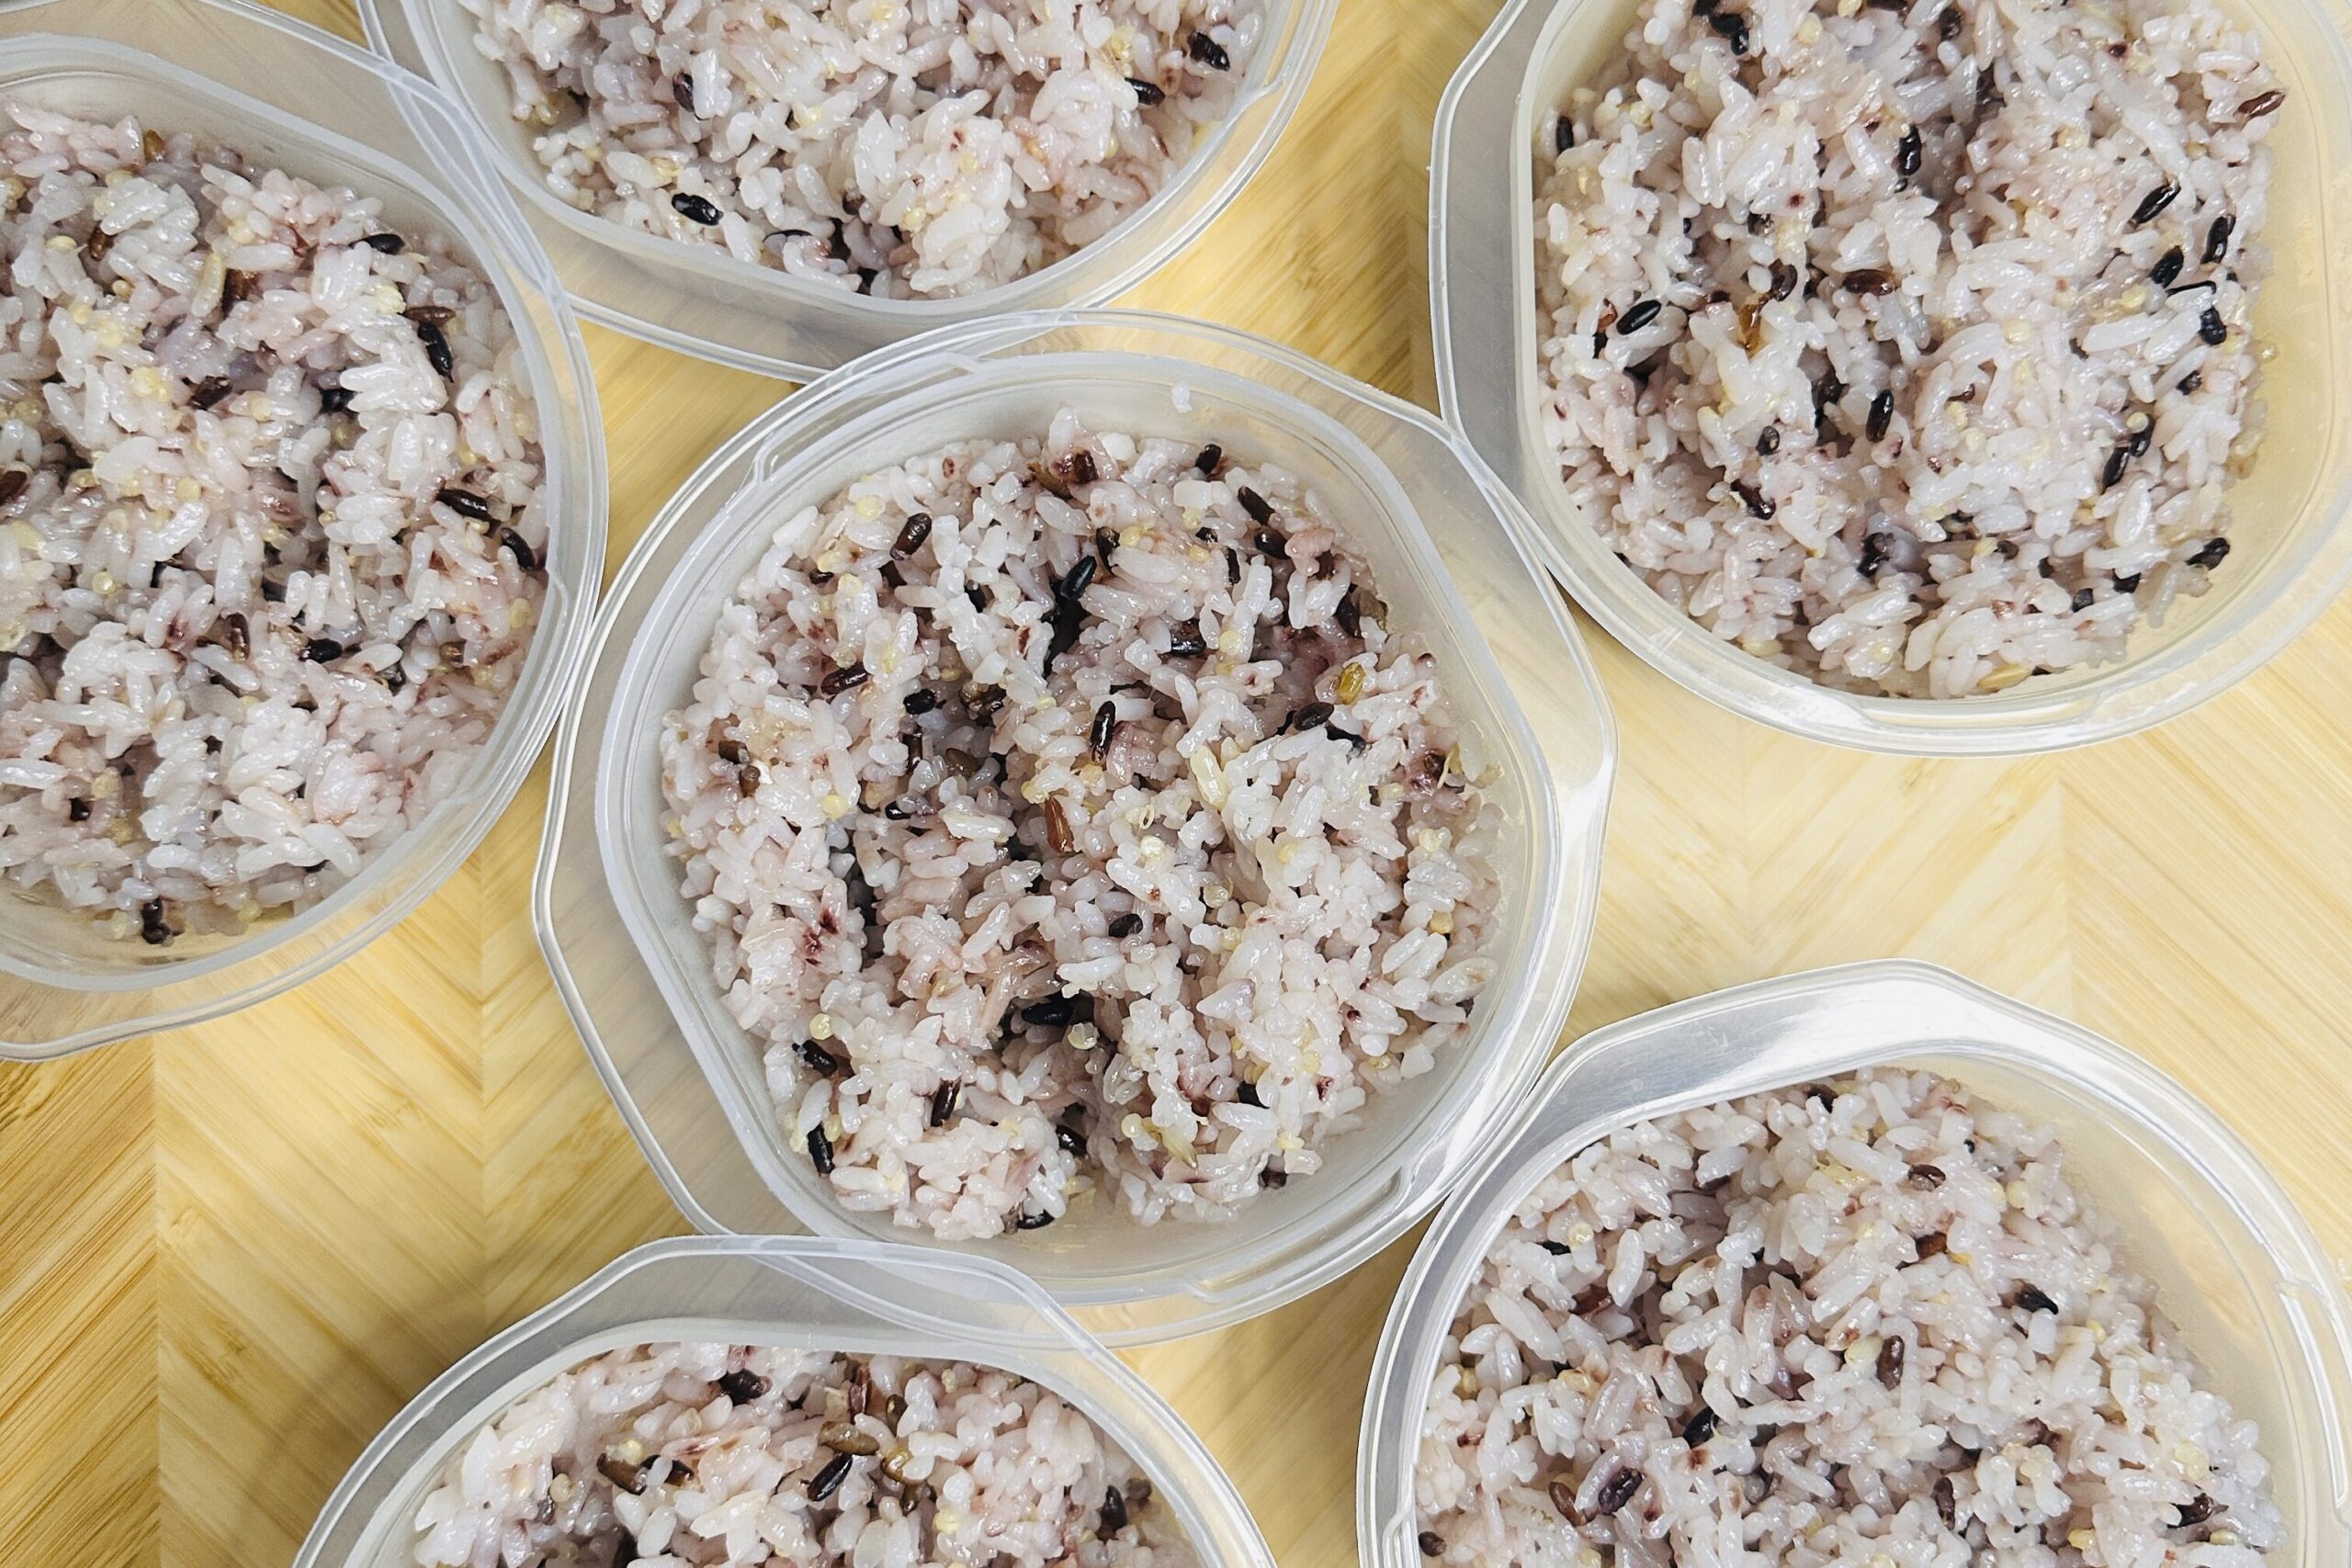
How to Make Perfect Korean Multigrain Rice
1.Cooking Methods at a Glance (취사 방법별 비교)
| 1.Electric Rice Cooker • Big family meals • Busy weekdays Set & Forget: The easiest, most foolproof way to cook large batches with just one click.⏱️ *Zero effort, perfectly consistent results. | 2. The Pot Method(냄비 밥 / 솥밥) • Camping trips • No rice cooker at home Versatility: Cook delicious rice anywhere over a stove or campfire. Gives a premium rustic feel. 🍲 Nurungji & Sungnyung! (Scorched rice crust and comforting rice tea) | 3. The Mug Method (컵 밥 / 마이크로웨이브) • College dorms • Single servings Speed & Convenience: Quick, single-portion meal using just a microwave with minimal clean-up. 🧼 Only one mug to wash! |
2. Rice & Grain Water Guide (쌀 종류 및 부재료별 밥물 기준)
| Grain Type (쌀/잡곡 종류) | Water Level Rule (밥물 기준) | Preparation Tips (부재료 준비 꿀팁) |
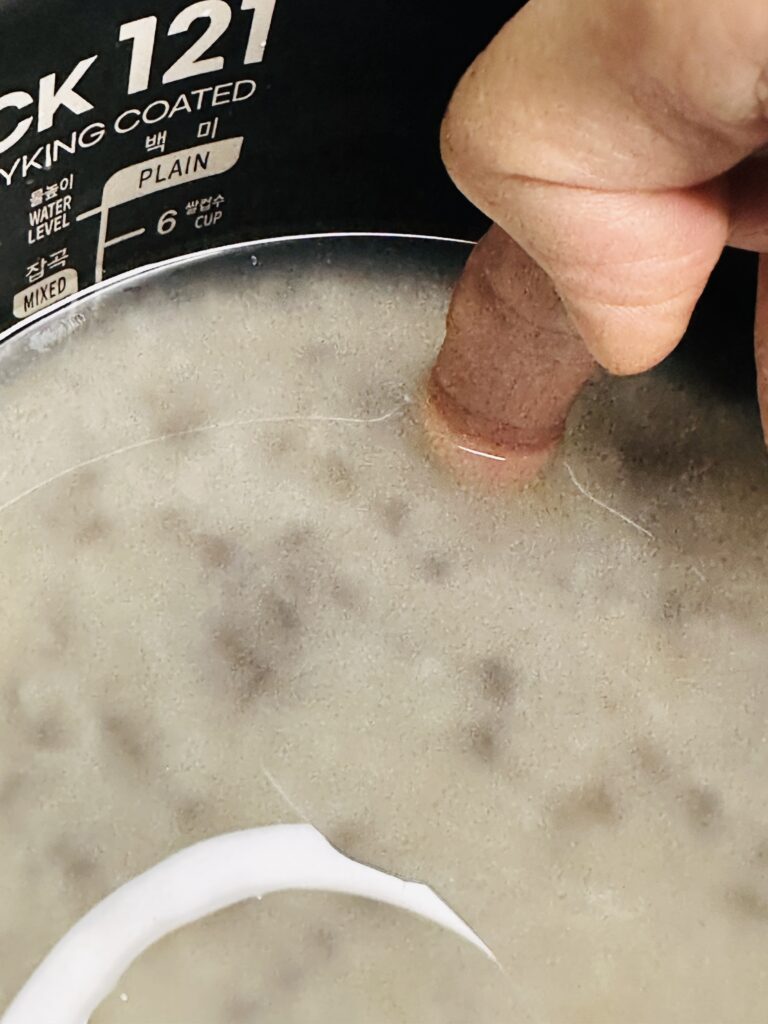
| Fresh White Rice (일반 햅쌀) | Just below the first joint of your index finger (검지 첫 마디 라인 바로 밑) | Clean and wash thoroughly before cooking. |
| Old Rice / Mixed Grains (묵은 쌀 / 잡곡) | Exactly up to the first joint line (검지 첫 마디 라인 정조준) | Needs slightly more moisture than fresh white rice. |
| Beans (Optional) (콩류 추가 시) | Just above the first joint of the index finger | 1. Wash and soak in the fridge overnight (to prevent spoiling). 2. Or boil beforehand, freeze in portions, and toss a handful whenever needed! |
☝️ Mom’s Secret: The Index Finger Trick
When you ask a Korean mother how much water to add, she will likely say, “Just flatten the rice, put your hand in, and fill the water up to the first knuckle of your index finger!”
- Why it works: Whether you are cooking 1 serving or 5 servings, once the rice is spread evenly at the bottom of the pot, the volume of water needed to rise above the surface of the rice remains exactly the same—about 2 to 2.5 cm (approx. 1 inch), which perfectly aligns with your first finger joint
🥛 If you need precise measurements or are using a mix of different grains, simply follow this guide.
(💡 Pro tip: For the best texture, let the rice soak in the measured water for about 30 minutes before cooking!)
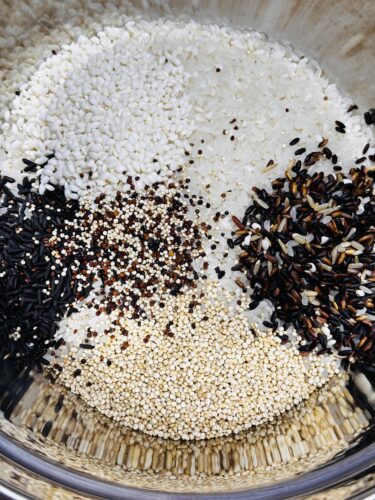
Ingredients
- White Rice (or Sweet Rice): The soft and sticky base
- Black Rice: Adds a beautiful purple color and nutty flavor
- Brown Rice / Wild Rice: For rich texture and fiber
- Quinoa: A superfood twist for extra nutrition
- Water:(Refer to the “finger-Trick method” for the ratio)
- 💡Feel free to add other grains of your choice; note that it is best to pre-boil legumes before using them.
Step-by-Step
Step 1: Washing the Grains (잡곡 씻기 *Never Skip This!)
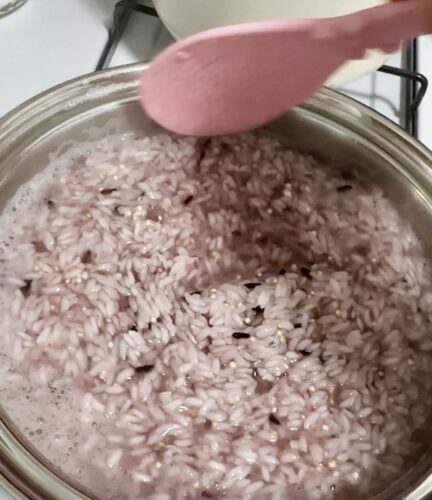
Mix together your preferred grains—such as white rice, black rice, and quinoa—and gently rinse them in cold water about 3 times. The water will turn from cloudy to clear. Be careful not to over-wash them, as doing so can wash away the nutrients.
💡 Kitchen Tip: Always use a fine-mesh strainer (sieve) when rinsing this mixture! Because quinoa grains are incredibly small and light, they will easily wash away if you try to drain the water simply by tilting the bowl. Using a strainer ensures you don’t lose a single grain of your nutritious superfood!
Many rice packages sold in stores are labeled “no need to rinse,” leading some people to simply add water and cook the rice immediately. However, in Korea, the taste and aroma of the rice are considered very important! Skipping the rinse can leave starch or dust on the surface, potentially causing an unpleasant odor and detracting from the rice’s delicate, natural flavor.
For a perfect, clean taste, give the grains a quick rinse with cold water about three times. It is essential to use cold water; this prevents superfoods like quinoa from sprouting or losing their texture during the rinsing process.
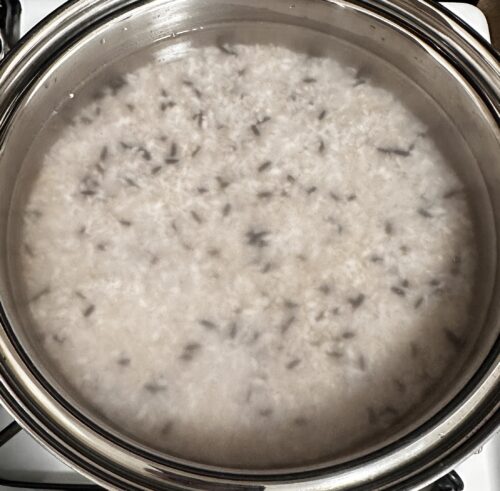
Step 2: Simply adjust the water level for the rice and press the cook button.
Step 3: Mix the cooked rice evenly so it doesn’t clump together.
Step 4: Make a large batch at once and freeze it while still hot. When you’re ready to eat, simply microwave it for about 2 minutes and 30 seconds to enjoy the taste of freshly cooked rice.
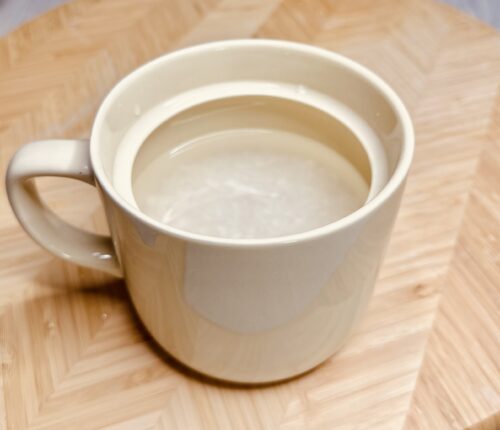
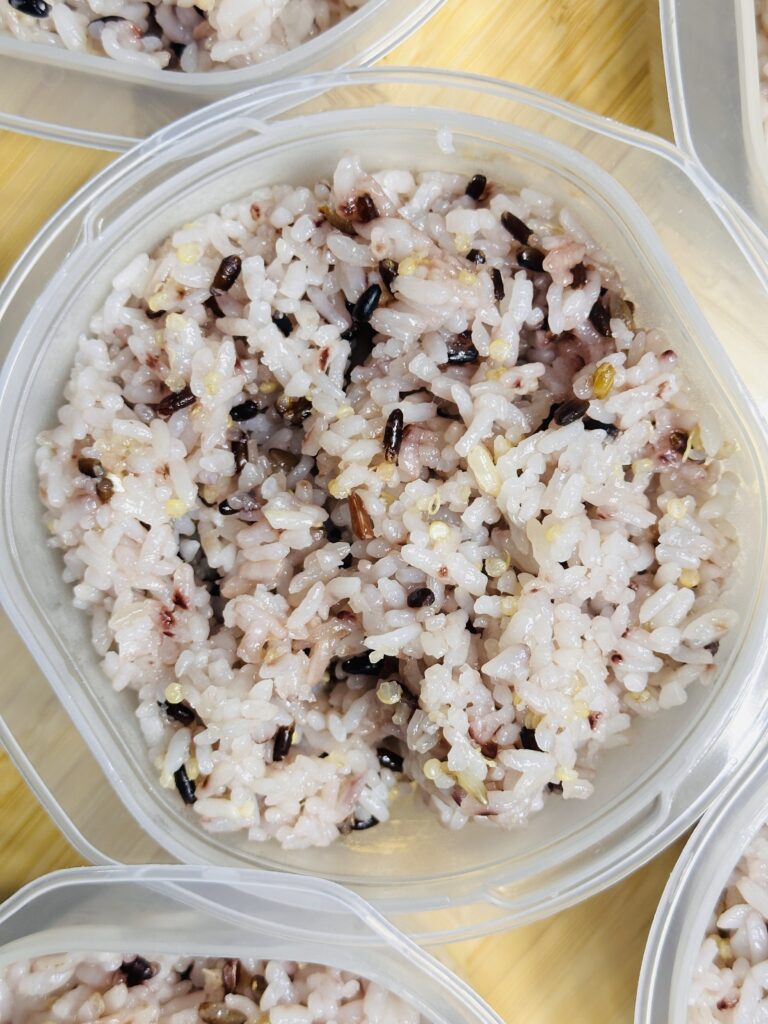
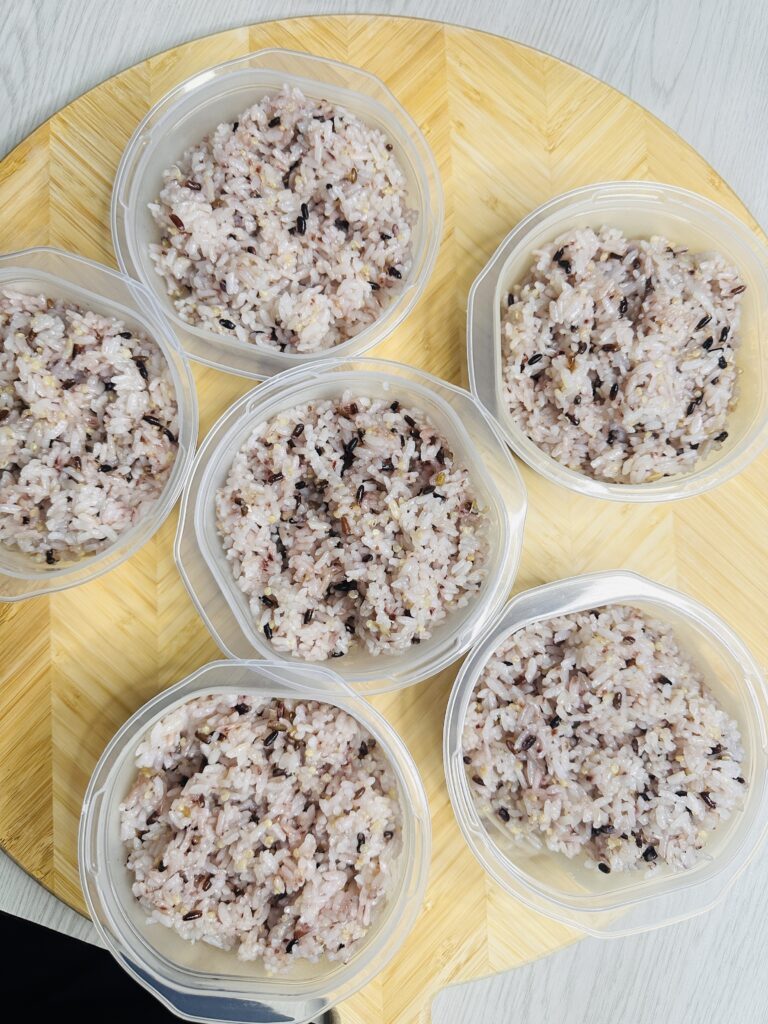
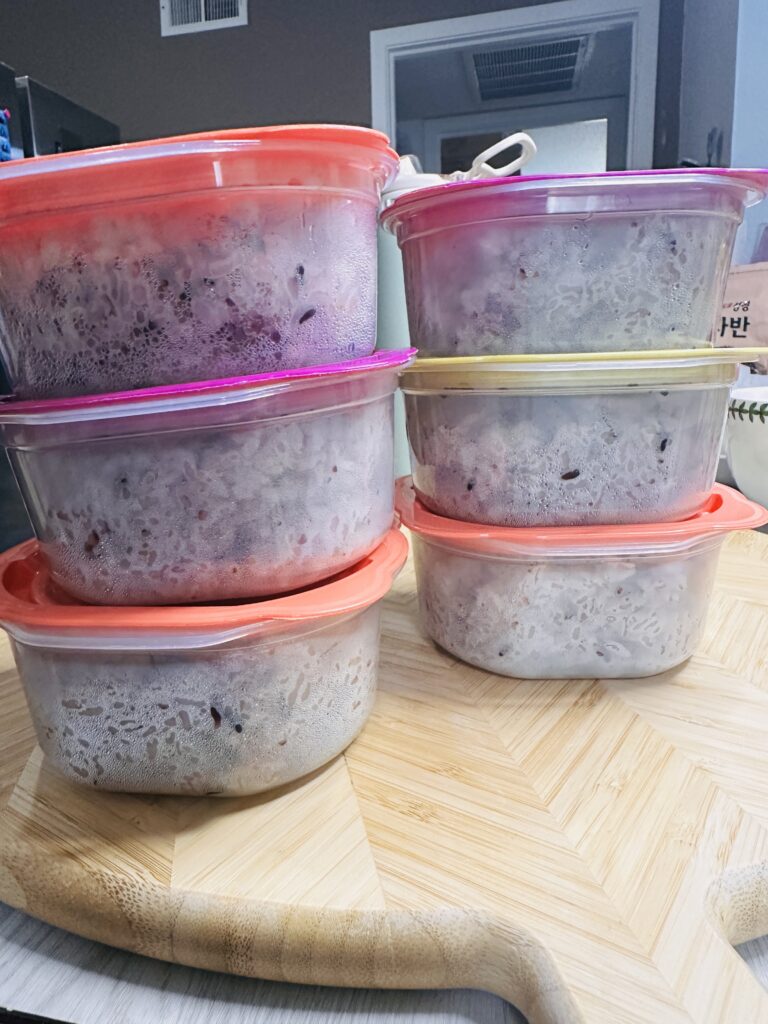
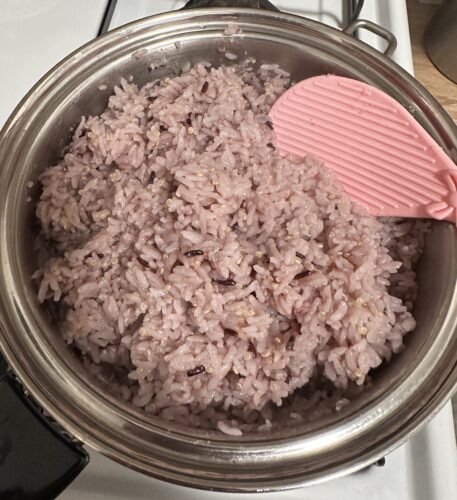
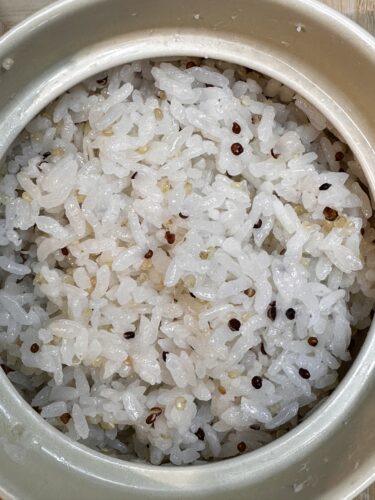
🎁 A true delicacy: nurungji and sungnyung! When rice is cooked in a traditional cauldron, a thin, golden-brown crust forms at the bottom—this is nurungji, one of Korea’s quintessential delicacies. With its crispy texture and nutty, savory flavor, it makes for a wonderful snack all on its own. There is also another way to enjoy it: simply pour hot water over the remaining crust in the cauldron and let it steep for a moment to create sungnyung, a warm and soothing beverage. Often enjoyed as a palate cleanser after a meal, this savory drink warms not only your stomach but your heart as well!
✍️ A Smart Choice-The Budget Saver
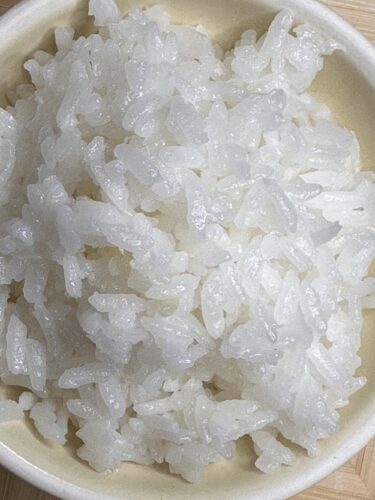
“As you can see, cooking rice at home is not only incredibly simple but also a great way to save money. Even with today’s high grocery prices, you can pick up a 15-pound (approx. 6.8 kg) bag of rice at a local store for around $12, or a 50-pound (approx. 22.7 kg) bag at Costco for roughly $30. Rice is a healthy, economical staple that pairs perfectly with any meat or vegetable dish!”
🛠️ “Did you find this recipe helpful? Please feel free to leave your valuable feedback on the taste or suggest Korean dishes you’d like to see on the blog in the future!”
Leave a Reply